Quick Search:
What Is Apps in Your SharePoint?
SharePoint apps, characterized by their compact and user-friendly nature, are standalone applications meticulously crafted to execute various tasks and cater to specific business needs. By seamlessly integrating these apps into your site, you have the opportunity to elevate its functionality and customization.
Whether you aim to implement specialized features or present detailed information such as time and expense tracking, the addition of these apps empowers you to enhance the overall user experience and efficiency of your SharePoint site. So, how do I add an app to my SharePoint site? Read the following content carefully.
How to Add an App to SharePoint Easily
Now, you can refer to the content below to learn the detailed operations to deploy an app in SharePoint. After reading, you can try it to improve your work efficiency.
Step 1: Sign in to SharePoint with the credentials of the site or tenant administrator.
Step 2: Tap the cog icon on the right upper side. Then tap the Add an app button.

Step 3: Go to SharePoint Store on the left navigation bar. Step 4: Search the app you want to use in the Search bar on the right-upper sidebar.
Note: Inability to utilize apps that appear faded on your site may stem from various factors, including specific configurations, the SharePoint version in use, or insufficient access rights.
Step 5: Locate the app and hit ADD IT > Continue > Return to site.
Step 6: Tap Trust It in the next window. It is advisable to wait until the installation of the app is fully completed.
Step 7: After the app is visible and active on your Apps page, proceed to use by clicking on it.
This is how do I deploy an app in SharePoint. Likewise, you can add other apps by the same way. See, it’s very simple and easy, right? After installation of the apps you use, you can take advantage of them to manage your data more efficiently.
Bonus Tip: How to Transfer SharePoint to Google Drive
Some users find Google Drive's user interface more intuitive and user-friendly compared to SharePoint. The simplicity and familiarity of Google Drive might appeal to those who prefer a straightforward experience. But the catch is how to migrate documents from SharePoint to Google Drive? To accelerate the progress, you can utilize MultCloud.
MultCloud functions as a cloud management platform, streamlining the centralized control and transfer of files among various cloud storage services. Acting as a bridge between different cloud platforms, such as Google Drive, SharePoint, iCloud, iCloud Photos, Dropbox, OneDrive, etc., it enables users to effortlessly access and manage their files through a unified interface.
MultCloud is one of the most useful cloud transfer apps in the market. This cloud-to-cloud transfer feature enables users to transfer files and data between different cloud storage services without the need to download and re-upload the content manually. Here are some detailed benefits:
- Direct Migration without a Manual Process: Enable seamless file transfer between cloud services without the necessity of downloading them to a local device first through the cloud transfer feature. This capability can be particularly time and bandwidth-efficient, especially when handling large files.
- Automatic Transfer at Regular Intervals: MultCloud provides the convenience of scheduled file transfers, allowing users to set up automated transfer tasks that run at specific times. For instance, when you want to transfer S3 bucket to another account, you can achieve it automatically.
- Security Measures: MultCloud prioritizes data security during transfers. It employs encryption protocols to secure data transmission, helping users maintain the confidentiality and integrity of their files.
Now, let’s figure out how to transfer SharePoint documents to Google Drive via MultCloud directly and effortlessly:
Step 1: If you don’t have a MultCloud account, you can register one. Or, you can continue with your Google/Facebook account.
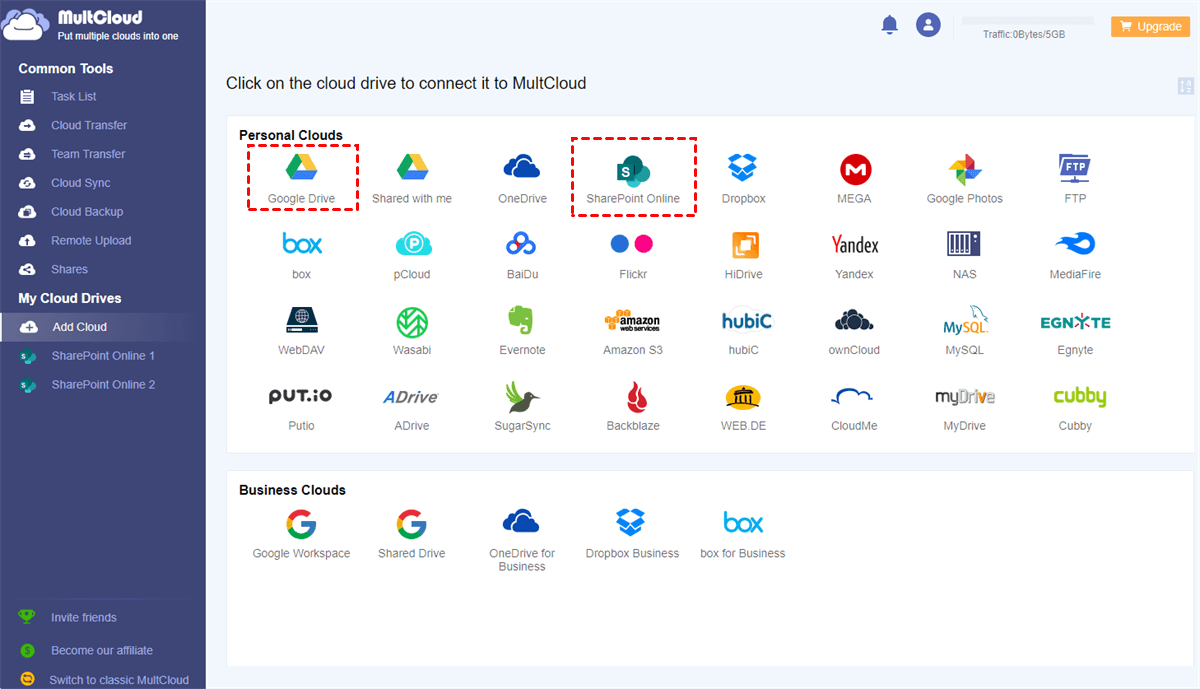
Step 2: Navigate to Add Cloud on the left pane. All cloud drives that MultCloud supports will display in the main page. You can tap the SharePoint icon to add your credentials and give MultCloud permission by following on-screen tips. Later, use the same way to add Google Drive.
Step 3: Proceed to Cloud Transfer on the left sidebar, select documents on SharePoint as the source cloud, and choose Google Drive as the destination. Finally, start the task by hitting Transfer Now.
This is how to migrate SharePoint to Google Drive without downloading and uploading. No matter how many documents you have, you can quickly deliver the goal since MultCloud owns an industry-leading migration speed. On top of moving data between cloud services, you can also back up and sync files across cloud drives as well.
MultCloud allows you to back up files between cloud drives efficiently. After backing up, you can also restore the backups without costing a penny. At the same time, there are 9 smart sync options for you to choose from, such as Move Sync, Cumulative Sync, Real Time sync, etc. There are many differences between sync methods and you can choose the best one based on your needs.
Conclusion
After reading how to add an app to SharePoint in this article, you can now try the steps above. After adding apps you need, you can manage and organize your works more efficiently. Additionally, you can transfer documents from SharePoint to Google Drive directly and easily via MultCloud. After using this app, the cloud management can be much easier.
MultCloud Supports Clouds
-
Google Drive
-
Google Workspace
-
OneDrive
-
OneDrive for Business
-
SharePoint
-
Dropbox
-
Dropbox Business
-
MEGA
-
Google Photos
-
iCloud Photos
-
FTP
-
box
-
box for Business
-
pCloud
-
Baidu
-
Flickr
-
HiDrive
-
Yandex
-
NAS
-
WebDAV
-
MediaFire
-
iCloud Drive
-
WEB.DE
-
Evernote
-
Amazon S3
-
Wasabi
-
ownCloud
-
MySQL
-
Egnyte
-
Putio
-
ADrive
-
SugarSync
-
Backblaze
-
CloudMe
-
MyDrive
-
Cubby

Stay Updated With Our
Latest Tips
Add us as a preferred source on Google to never miss helpful guides.